Wednesday, October 29, 2014

Marleen DT - All hallows

Hi blogger friends

Once again my turn to share a bit of inspiration..

My last halloween project for this year I think and once again, Ive had a play with
You can find these and all the other fantastic stamps in the STORE..

Here is what Ive made for this week: 


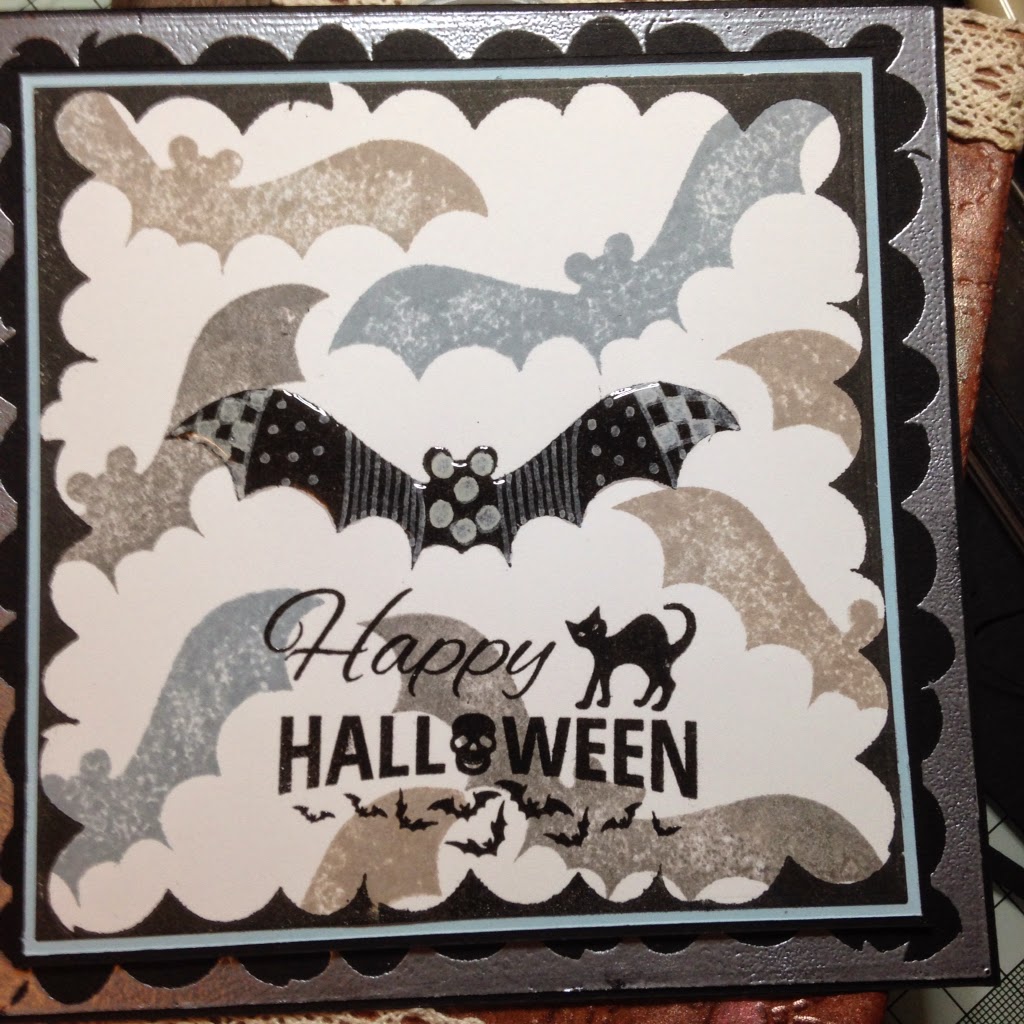
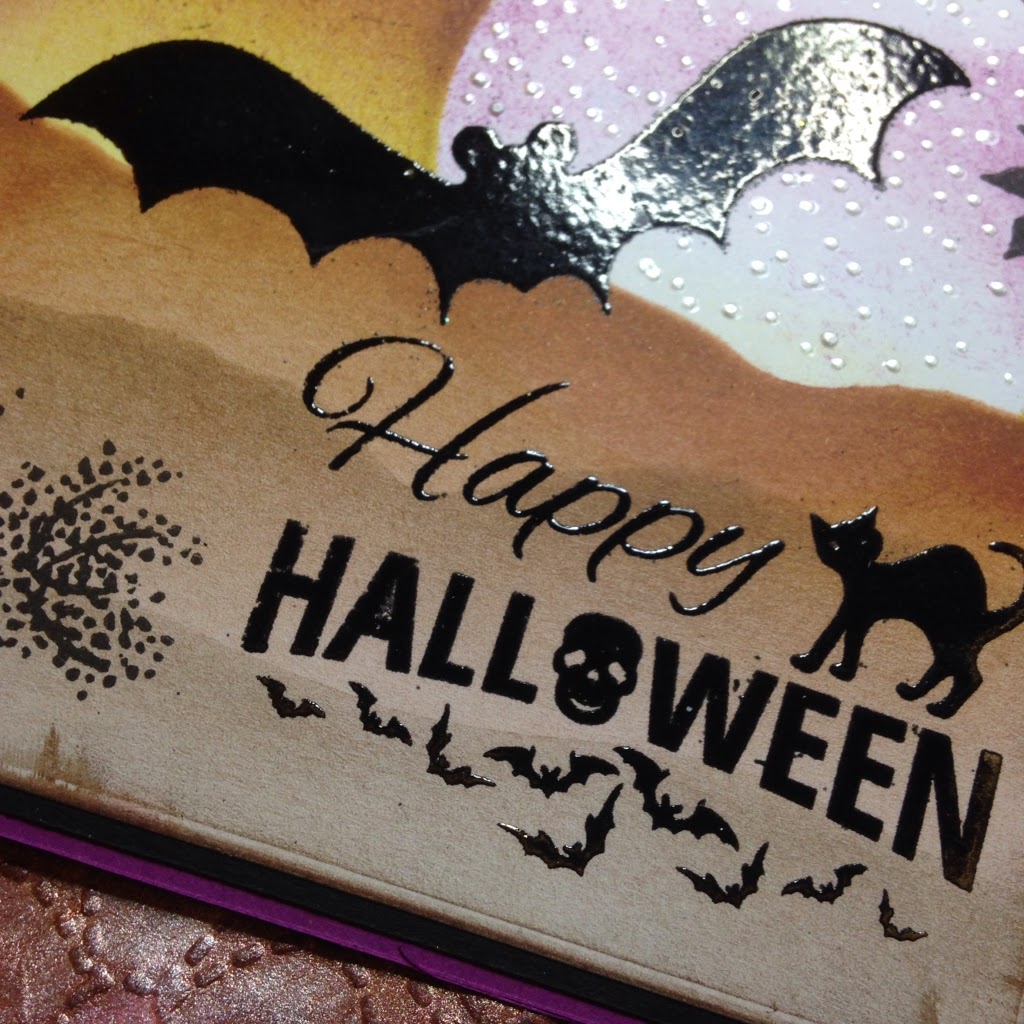
 THe back ground on this card is made using the "scull" stamp with white embossing powder.
Its matted and layered onto purple card stock.
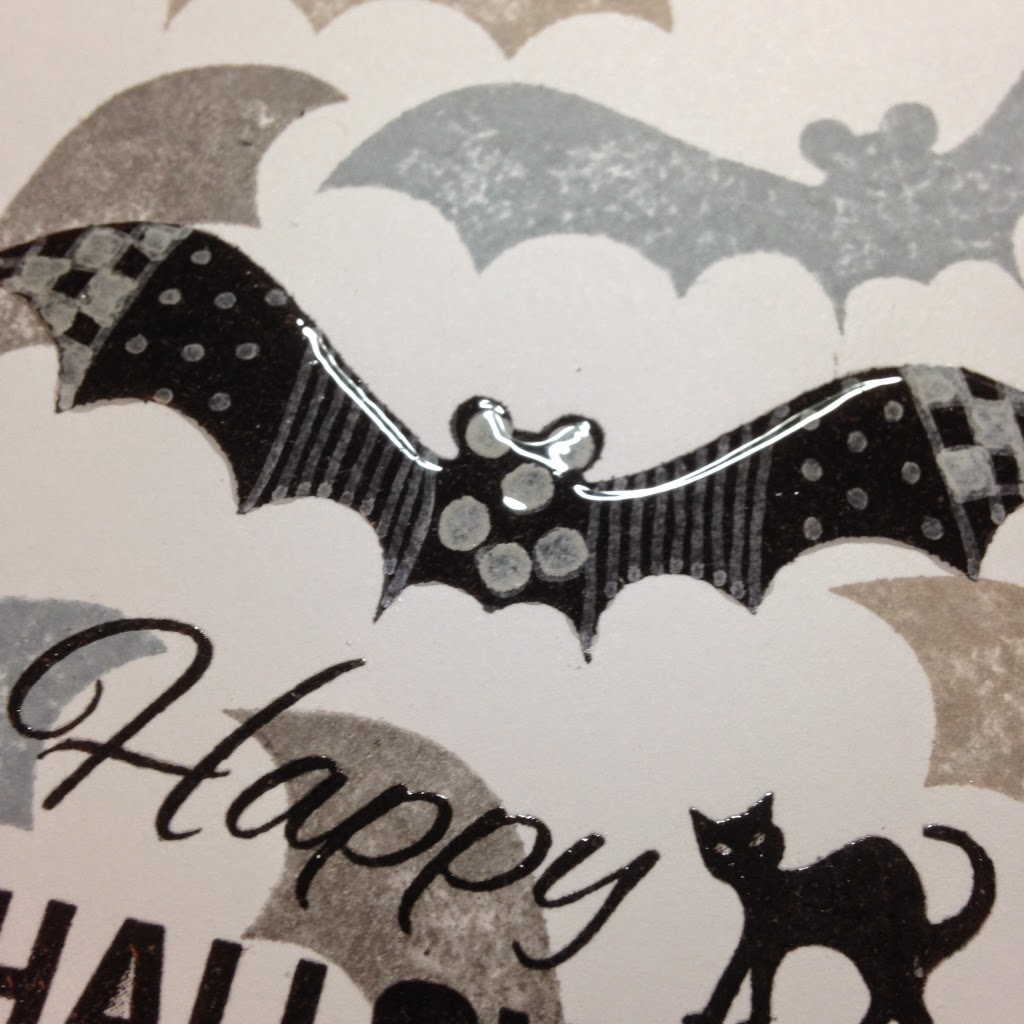
My centre image has been done the same way, only while the white embossing powder was still warm, I springled some silver embossing powder over it. It can vaugely be seen on the last image.
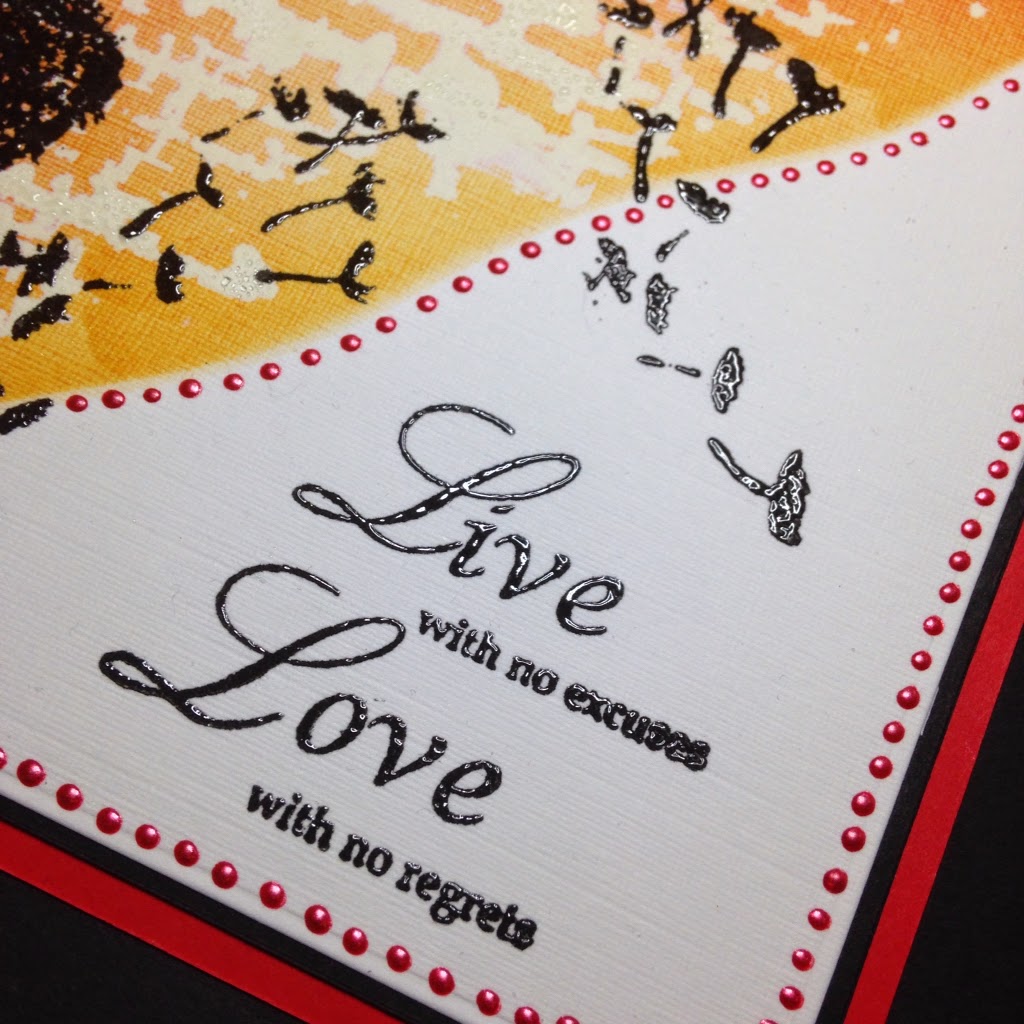
My sentiment has been stamped on purple card stock and also done with white embossing powder before cutting it out.
The rest was simply matting and layering.

And that is all for today from me.
Thank you for popping by and for any comments left behind.


Tuesday, October 28, 2014

Christmas

hello 
this week is a Christmas card 

I matted red and black card onto main card 
I then taped the
 snowflake 
to a piece of white card
and embossed it 
then sprayed it with the white glitter 
I then sprayed it lightly with a gold glittr
I matted this onto  black card 
and added it to main card 
and added the gems 
I then stamped  the greeting 
I die cut that out and a larger circle in red
them matted them and added to the card 
A nice and simple card 
Sue
xxx

Monday, October 27, 2014

Something That Made You Smile

Good Morning Crafty Friends, 

It is my turn again today to share with you some inspiration using some of the stamps from Bee Crafty. 

The sentiment that I have picked today has to be one of my favourites. 

The sentiment is from the Wordage Range and is called Never Regret 

I created a 6x6 card blank using a white hammered card stock, the next layer is a blue card stock, matted again with another white card stock that has been embossed using the Inkables Chain Link Fencing Mask. 
I used a matting die to create the "toppper" on the white card stock I stamped the sentiment and used a detailed silver embossing powder using my heat gun to "set" it. 

Next I added three butterflies, and liquid pearls to the center of each butterfly and in the join of the chainlinks on the background.


That is it for me for today. 

Thanks for stopping in. 

Hugs 
Kelly
xxx

Sunday, October 26, 2014

Like a bat out of hell!


Hello fellow bloggers I'm back with my Bee Crafty spot for the week and I'm using what has turned out to be a very versatile stamp indeed.


For this card I have used:

All Hallows' bat stamp

All Hallows' Happy Halloween stamp

Distress inks

Silver embossing powder

Glossy accents

Clear embossing powder

White fine line pen


To make this card I started off with stamping a black bat in the centre of the card. I then stamped the bat randomly using pumice stone, weathered wood and another grey ink pad from my stash. After that I added some doodles to my black bat using a white fine line pen. I then proceeded to stamp using the wavy edge of the bat wings to create a border. I stamped the sentiment in black and added some clear embossing powder. Using the same technique I stamped around the edge of a black piece of card using a watermark ink and embossed with silver embossing powder. After I assembled the card I applied glossy accents to the black, doodled bat for a bit of dimension.


Thank you for taking the time to have a look at my blog, I love hearing your thoughts and comments. I hope you are having a wonderful weekend whatever you may be doing.


Happy crafting,

Clare x x x x


Wednesday, October 22, 2014

Marleen DT - Halloween

Good morning blogger friends..

Its my turn to share a bit of inspiration.
For today Ive been playing with all my halloween stamps..
The stamps Ive used are called:

You can find these and all the other fantastic stamps in the STORE..


For this card I matted and layered my back ground before stamping my 3 stamps onto a lightly hammered cardstock with versamark and and coating with black embossing powder.
Once powder was melted and cooled, I cut out my images and used distress inks to colour them
After that it was a simple matter of layering the images up and finish with the bow and a few black gems..

Hope you like. I love the way this one came out :-)
Many thanks for popping by and for any comments left behind.

Tuesday, October 21, 2014

Spookylicious

Hello again
Spooky this week

Template ~ Circle Lattice

Spider from all Hallows
Spooklicious stamp 
from the all Hallows collection
Distressed Inks 

Love this circle lattice
I used distressed inks again
then matted it onto card
Then added it to a 
6x6 card
Stamped 
"SPOOKYLICIOUS"
randomly over it
I then stamped the 
SPIDER onto white card
matted that onto card and 
added to main card 
with the addition of the gems 
Sue 
xxx

Monday, October 20, 2014

Spooky Scrapbooking

Good Morning Crafty People;

Today I thought I would share with you a Halloween Scrapbook Layout. I tried to take pictures at each step so bare with me.  All of the stamps I used were from the new All Hallows Range


Step 1
I selected a plain black background and cut it down to 8 X 8 inches


 Step 2.
I used a white card stock and randomly stamped the spider using a black momento ink pad, once I was happy I cut it down to 7.75 x 7.75 inches.


Step 3 and Step 4
I picked an orange background I didn't want it so bright but this was all I had so I had to come up with an idea. I cut this down to 7.25 x 7.25 inches
So I Decided to take the Fern stamp and the black ink pad and randomly stamp the fern around the edges of the card stock I then used the Black Soot distress ink pad and some cut and dry foam to ink the edges, some of the ink got on my finger and left random dots but I didn't try and correct these as I thought it gave a bit more of a "spooky distress" look to it.

I used my explore to cut the border out, I cut it to the size of the card and left it to size. I added white pen around the "tombs" to give it some detail

Step 5. 
Next I created my photo mat layer. 
I used the black card and cut it 6.73 x 4.73 inches
I used a white card stock and stamped the "Poison" stamp I used a dark purple and then edged it with an orange ink I then cut this to 6.5 x 4.5  inches
Once my photo has been taken I will print this at 6 x4 inches


Step 6
I stamped my title and cut it down so it was nearly the correct size, I added orange ink around the edges on this

Step7
I then gathered up all my elements to check that they all worked together and that I was happy with it.
I adhered all these together


Completion
All being well this is what you should come out with, I added the title using foam tape, but only removed one piece leaving the bottom open so I can added my photo then remove the backing and fully stick it down.

To give it some final detail I added stitching around the "Spider" background and some additional detail to the "tombs"


I hope you have enjoyed this and I would love to see some of your Halloween Scrapbook Layouts.
Crafty Hugs
Kelly
xxx

Wednesday, October 15, 2014

Marleen DT - All Hallows

Hello blogger friends..

Wednesday again and its my turn to share a bit of inspiration..

For today Ive been playing with one of my halloween stamps.
The stamp Ive used is called:

You can find this and all the other fantastic stamps in the STORE..


I have a secret to tell you all.. This card was made using a tecnique i saw our very own Bev, the boss lady, demonstrate on the new online tv challenge
"British Craft Network"

I caught one of Bev's first shows and just HAD to have a try at this.
It involved making a mask with a simpe piece of paper and then use lots of distress inks.
After I had done that i sprayed my card stock with loads of water to really make the inks smudge.
I finished with the little dots made with a distress marker and a few gems.

Hope you like. I love the way this one came out :-)
Many thanks for popping by and for any comments left behind.

Monday, October 13, 2014

Delightful Judith

Good Morning Everyone, 

Monday already so that means it is time for me to share with you another project. 

This time I have gone for a girly card to share with you and have used one of the brilliant 

FASHIONettes, stamps this time I picked JUDITH to use.


 This time I did a DL card the base is lilac and I am sure it come from a card blank pack I purchased many years ago. 

The next layer is a white layer that I created a background with, I used the Fern stamp from the BEAUtanicals range  I used a distress ink to stamp the fern with I picked Victorian Velvet for this. 

The next layer is a purple matt layer, and the layer on top started with a white card stock, I coloured it in using a distress ink pad, this time I used Worn Lipstick and then inked lightly with the Victorian Velvet. To give it some detail I used the Honeycomb Inkables mask and a fine line black pen and traced the individual honeycombs, to create a different background. 

Next I stamped Judith on to 300gsm card stock and coloured her with a combination of promarkers. I used a rose chalk inkpad for her cheeks, she was a delight to stamp and colour. 

To finish the card I added foam to some of the layers, some ribbon and a knot bow, card candi and a sentiment from the Wordage range "Hugs and Kisses"

That is it for me for today. 

Crafty Hugs
Kelly
xxx

Sunday, October 12, 2014

Stamping with bleach

It's Clare here and I'm here today for my Bee Crafty spot and I have had a go at stamping with bleach. It's a technique I've never tried before but it is one that I am certainly going to do again.


For this card I used:

Beautanicals dandelion stamp

Da Vinci script stamp

Wordage live with no excuses stamp large

Liquid pearls

Distress inks

Clear embossing powder

Household thick bleach


To make this card I masked off part of the card to leave a white area and blended on my distress inks dried marigold, wild honey and barn door. With the da Vinci script stamp I rolled a wad of kitchen roll and put it into an old plastic tub and poured on my bleach. I dabbed the stamp onto the wad and stamped over the blended ink with the mask still in place. I waited for the bleach to react and then stamped on my dandelion in black and again stamped the floating seeds, masking off the main dandelion so that I didn't get a second image. I stamped the sentiment and then added my liquid pearls.


Thank you for taking the time to read my blog. I love to hear your comments and thoughts.


Happy crafting,


Clare x x x x


Wednesday, October 08, 2014

Marleen DT - Scull & Happy Halloween

Morning blogger friends..

Wednesday again already?? God time is flying :-)
Wednesday means my turn to post inspiration for
Its also means that there is only a few weeks to halloween..

In Denmark, where I come from, we dont celebrate Halloween and as neither me or my kids like scary stuff we never really done much for halloween. We also live so rural that no one comes for trick or treat.
However myself and a group of girls have each year started taking turns in hosting the various parties in the year. I hosted halloween last year and it was first time that I ever really went "to town" with halloween. And I LOVED it.. We decorated up sitting room and kitchen with all the "blood and gore" you can imagine lol.. It was great..

This year however its one of the other girls turn.. So I decided to do a little present to the hostess. And in keeping with my stamping candles of late, I made another one, just with halloween stamps.

Dont forget to visit my youtube channel if you want to see a little demo on how to do this.

The stamps Ive used or this candle is called:
You can find these stamps as well as all the other amazing stamps in the
STORE...


 And that is all from me today.
Thank you for popping by and for any comments left behind.


Tuesday, October 07, 2014

Yuletide Polymer Stamp ~ Claus

 Chistmas 
one for awhile now

Yuletide Polymer Stamp ~ Claus

Yuletide Polymer Stamp ~ Fir Tree

Yuletide Polymer Stamp ~ Seasons Greetings Circle


This is a 6x6 card 
A spotted background paper from stash
I stamped the fir tree onto card
and backed onto blue card
I did the same with the greeting stamp and Claus (just love him)
I colored Claus in with my promarkers
added gems in the corners 
I added them to main card 
I then just added four gems in the corner of the card
Hugs 
Sue 
xxx

Monday, October 06, 2014

Scary Spider

Good Morning Everyone

Well today I am sharing a card for you that I really don't like simply because it has a great big SPIDER on the front and I have a huge fear of spiders - but when I stamped it out I took great pleasure in pushing it down hard onto the card stock ha ha ha
 

So I started with a light blue back ground which I inked with a dark blue distress ink 

I matted a white layer and inked it with black soot and wasn't overally careful about it as I wanted it to be all spooky

The next layer started with a white card blank, which I stamped the spider on to (shudders) I used a black ink pad for this, I then used the same dark blue distress ink and inked all around the creating darker on the edges and lighter towards the spider. 

I used a fern stamp and stamped it into the corners I stamped them three times in each corner.

To finish I added the "danger poison" stamp to the corner.


Well I hope you like him and I apologise if anyone is super scared now from the spider 

See you next week

Crafty Hugs
Kelly
xxx

Sunday, October 05, 2014

A little bit Batty!

It's Clare again with a little bit of Halloween for Bee Crafty. It's been great seeing Bev crafting on the British Craft Network this week if you haven't had a chance click on the highlighted link an have a little look at the non stop demos. It's fab you can actually watch techniques rather then being interrupted by the sales jabber.


For this card I used:

All Hallows' bat stamp

All Hallows' Happy Halloween stamp

Beautanicals branches stamps

Beautanical cow parsley stamp

Distress Inks

Liquid pearls


I'm not really a Halloween sort of person but I saw this bat and I loved him. I brushed on my background using seedless preserves, mustard seed, vintage photo and pumice stone. The bat and the sentiment have both been heat embossed with black EP. The foliage has just been stamped in black ink. I added liquid pearls to the moon and gently rubbed a little treasured gold wax around the edge of the card


That's me now till next week. Happy crafting everyone.
 
Big hugs,
Clare x x x


Wednesday, October 01, 2014

Marleen DT - Vera

Morning everyone..

Wow.. 1st of october!! Can you believe it???
 A few weeks till Halloween and then its time for christmas..
This year is just flying in..

But as its once again wednesday, its once again my turn to share some inspiration for

Today im sharing a card I made with my second Fashionette.
This one is called "Vera".

You can find her in the STORE with all the other Fashionettes as well as all the other goodies. Wel worth a look-see so do pop over..

Here is what Ive made for today:
A colourful card this time using "Vera" 3 times..
I printed on watercolour card and coloured with distress markers.

 For the yellow Vera, I used "Squeezed Lemon" distress marker.
 My Orange Vera is coloured with "Spiced Marmalade" distress marker.

 And my red Vera is coloured with "Fired Brick " distress marker.

My back ground is made with the same 3 coloures as Vera, Ive simply just blended them a bit more.
The photo strip in the back ground, is made using a mask and "Walnut stain" distress ink.

And that is all from me for today.
Thank you for popping by and for any comments left behind.
Related Posts Plugin for WordPress, Blogger...